Creating WebUI Workspace using Sysdeo Tomcat Plugin
...About 1 minCommunityWikiDeveloper's Guide
Setting up Adempiere ZK Web UI workspace
July 23, 2008
Contributed by: Ivanceras
Part I. Set up the sysdeo tomcat plugin
- Download the sysdeo tomcat plugin here [1] and unzipped it to your plugin directory of your Eclipse IDE. Note: You must already have a tomcat installation in your computer.
- Restart your eclipse IDE, in order to activate the sysdeo tomcat plugin.
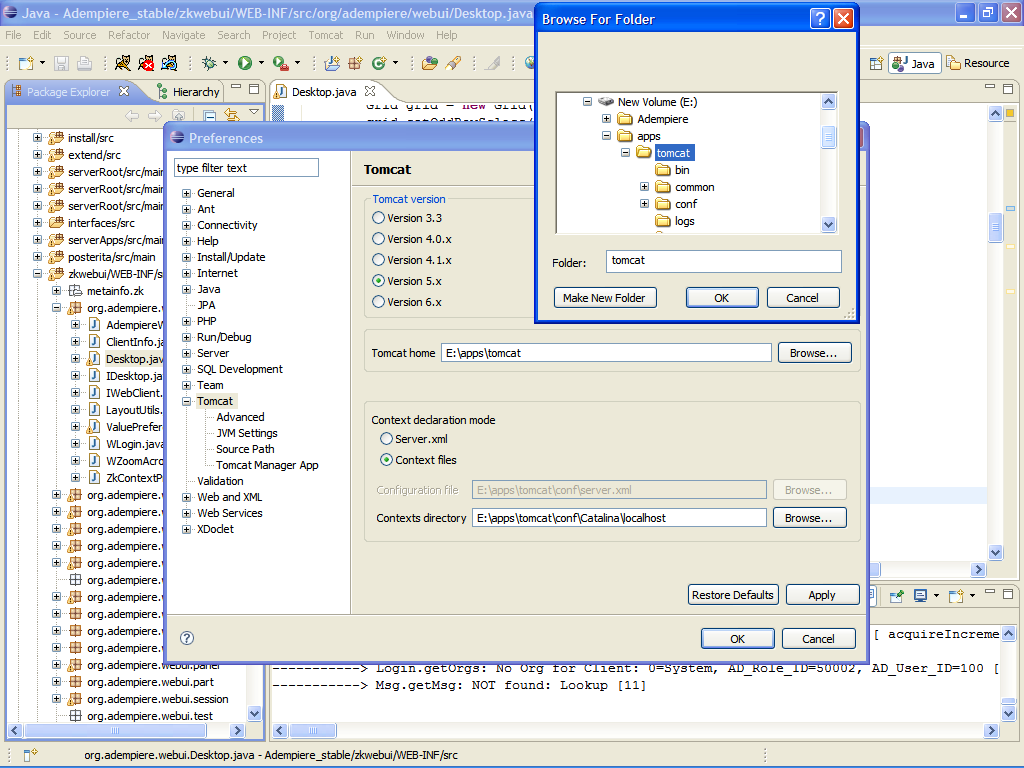
- Open Window>Preference>Tomcat, Set the tomcat home folder
Part II. Set up the Adempiere Java Project and the zkwebui tomcat project
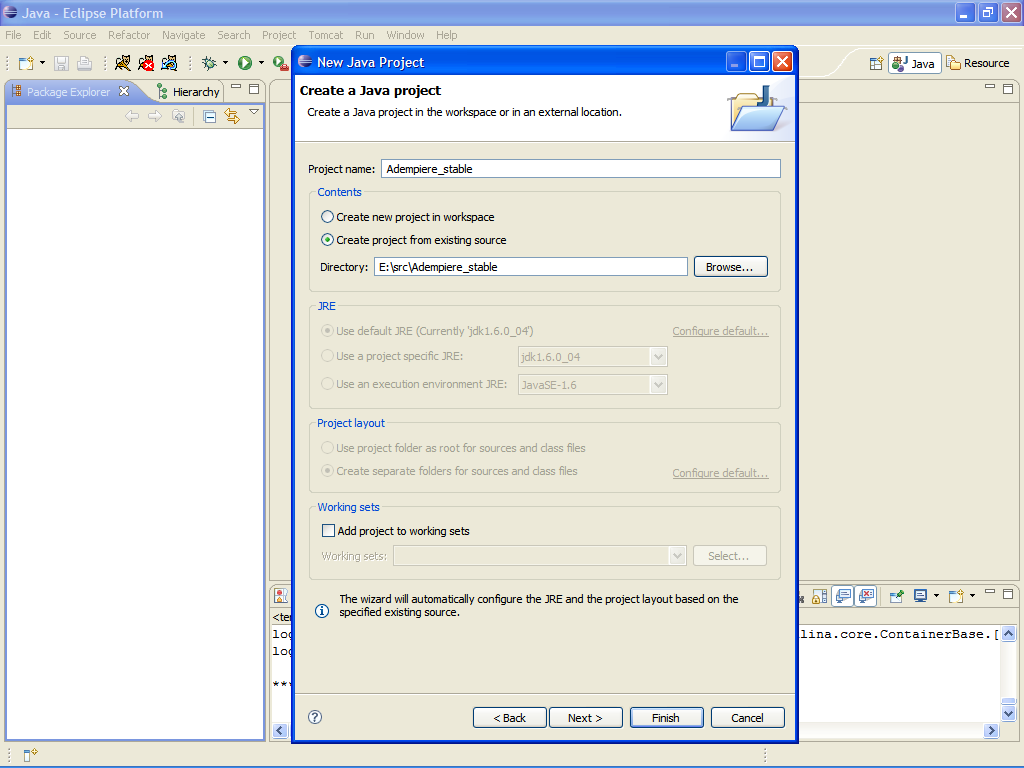
- Set up the Adempiere source as a Java Project. Make sure you’ve checked out the Adempiere trunk stable version, it has zkwebui source folder. If you are using other version, you should copy the zkwebui folder into your Adempiere source folder.
- Make a Tomcat project with source pointing to the zkwebui folder of the Adempiere source tree,
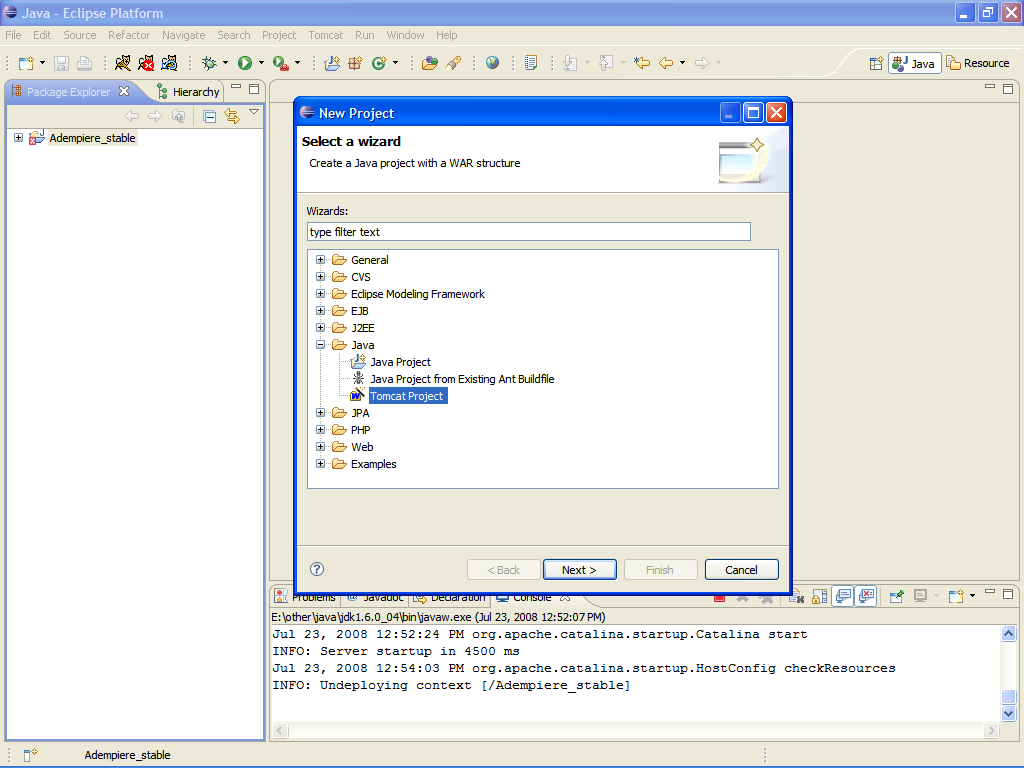
- name it as zkwebui

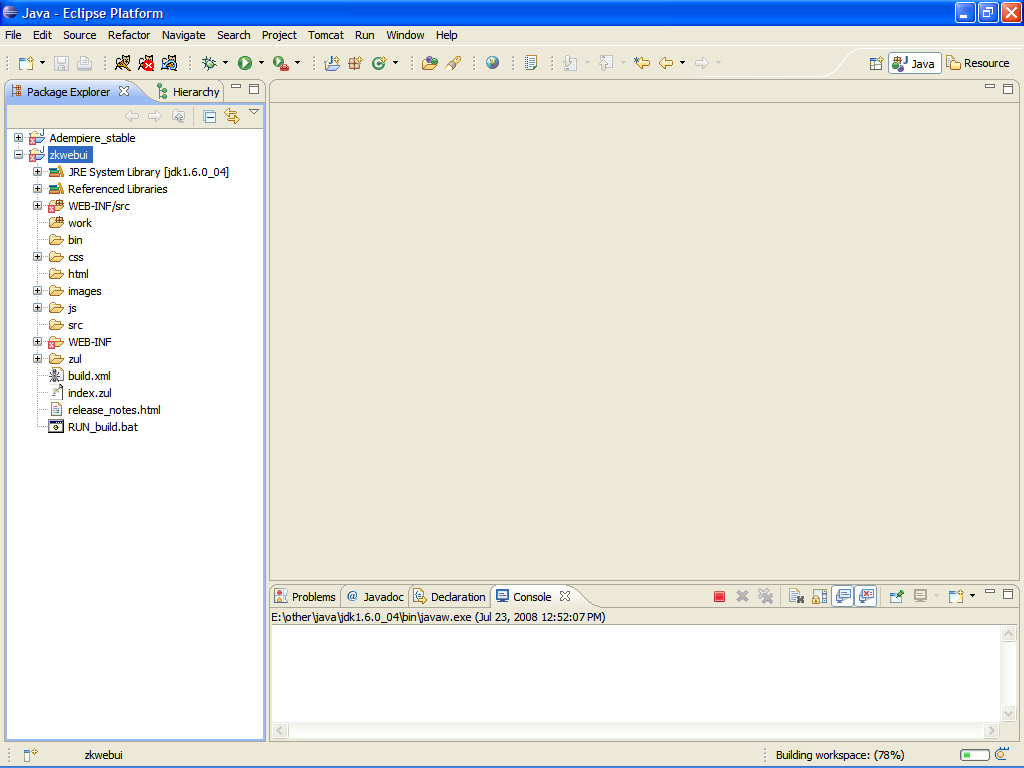
- Your IDE should have the two projects as shown.
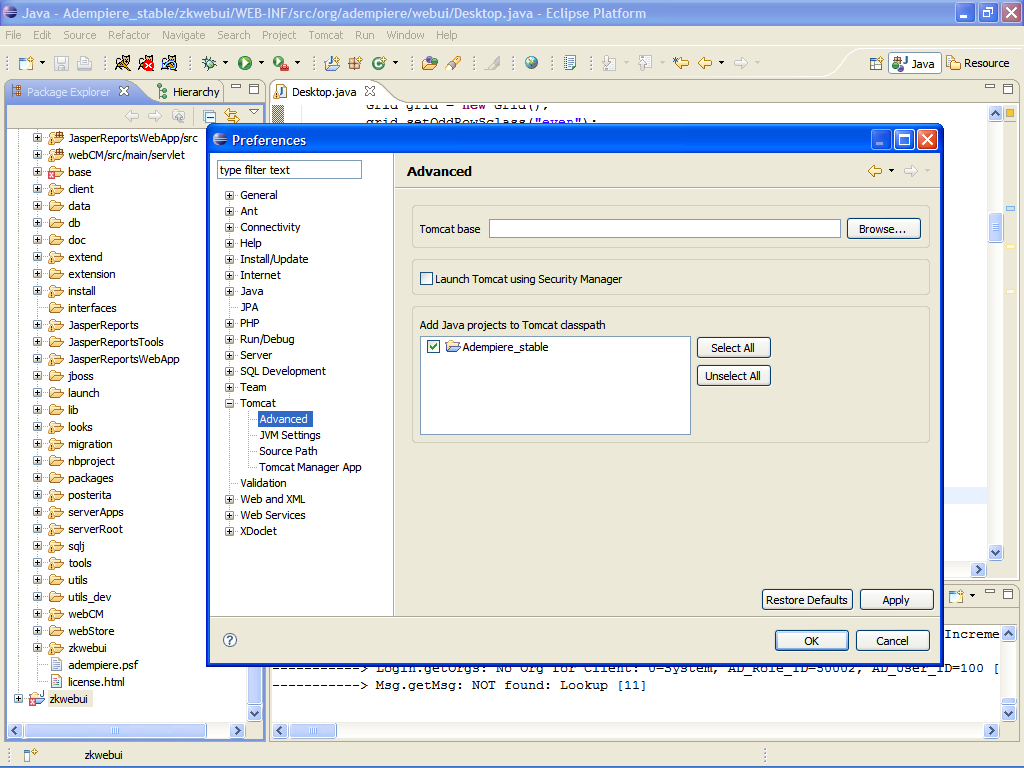
- Open the Window > Preferences>Tomcat>Advanced and include the Adempiere_stable as Tomcat classpath
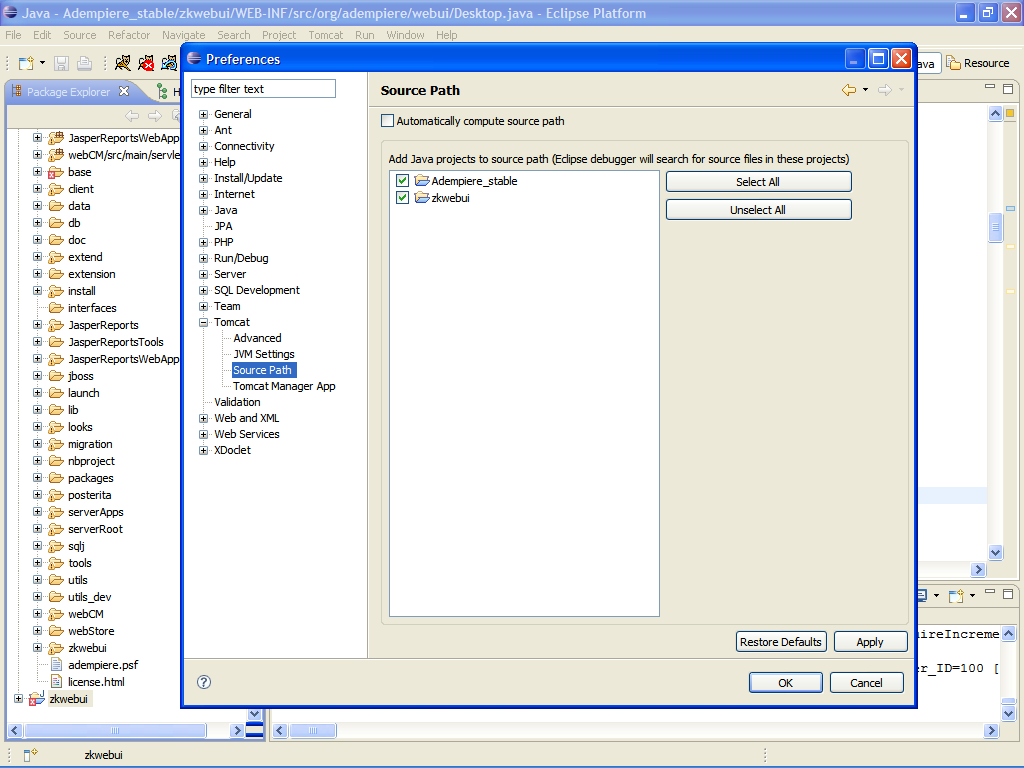
- In Tomcat>Source Path, check all the two projects as Java source path.
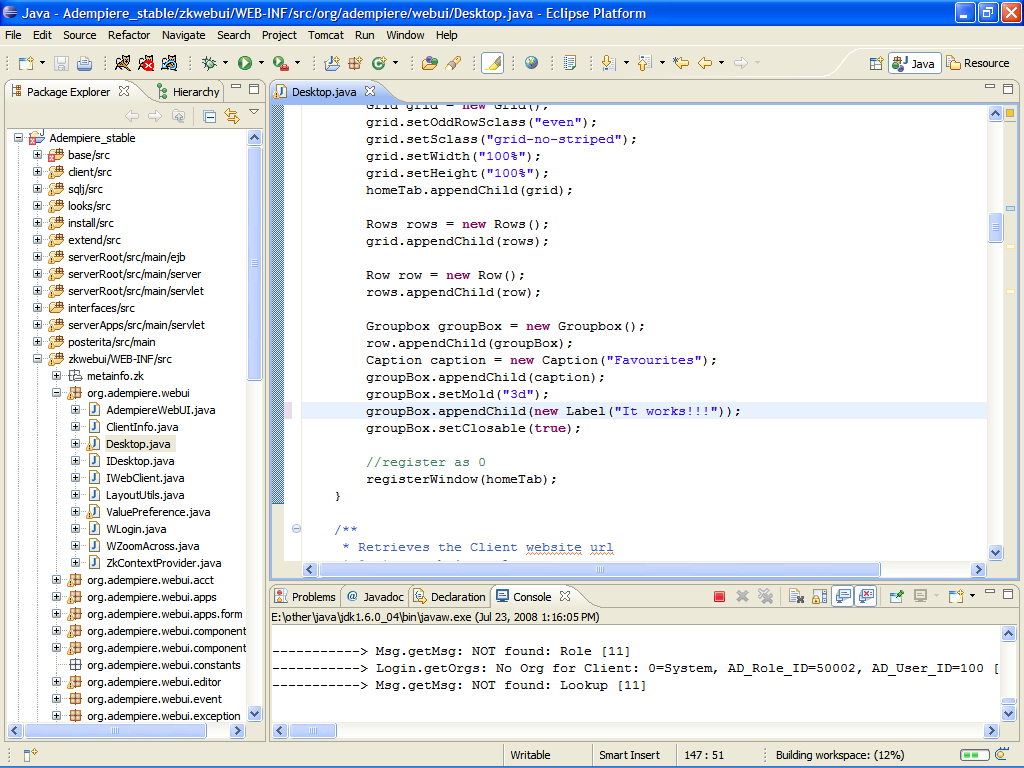
- Edit some of the Files in the zkwebui folder( ie: Desktop.java) of the Adempiere tree, to see if it really works.
- Note: Editing the zkwebui project also changes the source in the main Adempiere project, since they point to the same source folder.
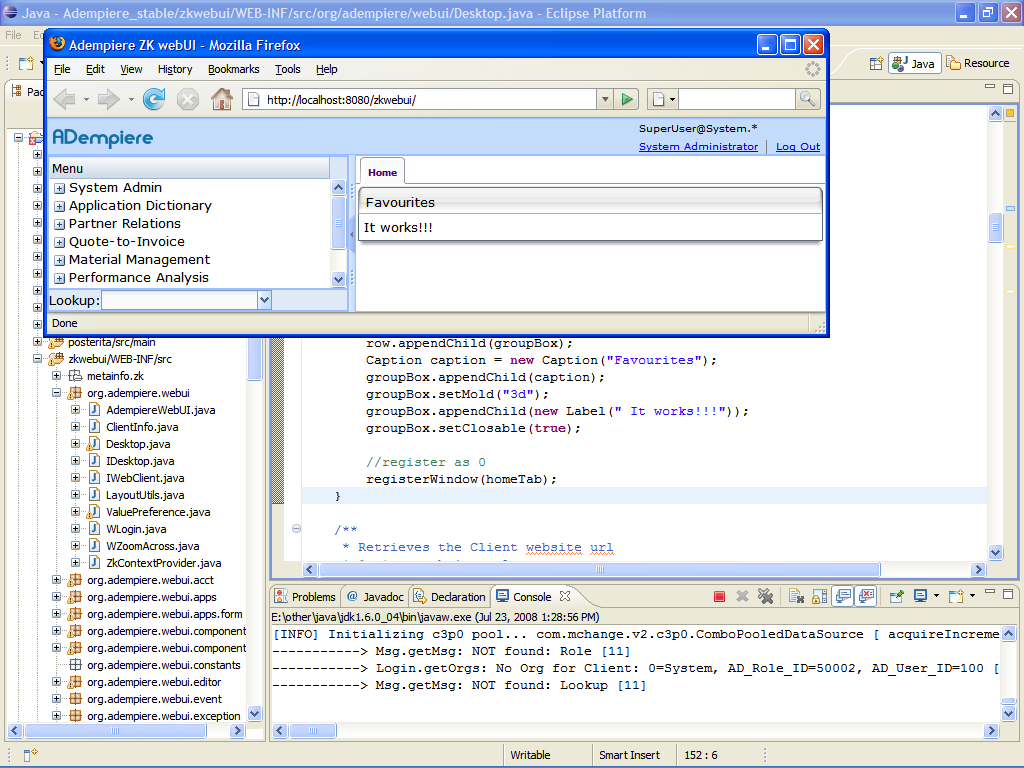
- Restart Sysdeo Tomcat plugin and open the project in the browser
 \
\
Document version: [2]
Special Thanks
- Low Heng Sin, for creating the improvement to the Adempiere WebUI and for guiding me how to set the zkwebui.
- See also Creating WebUI Workspace using Eclipse Webtool on editing ZK Ajax by Low Heng Sin.
Powered by Waline v2.15.8